In my early teenage years I became pretty obsessed with Sailor Moon. And by pretty obsessed, I mean scarily manic obsessed. I owned every toy I could get my hands on. I ordered VHS tapes of the subtitled episodes that weren't available in North America. I had multiple geocities websites dedicated to the show (yes, they are both archived in the wayback machine, no I will not tell you their addresses.) With the show being rebooted I thought it would be a great opportunity to do a Sailor Moon cosplay, and I decided on the show's most iconic villain:
Queen Beryl

If there's two things that anime consistently gets wrong, it's physics, and the proportions of the human body. I decided not to attempt Queen Beryl's physics defying bustline and go with something a little more modest and in need of a lot less dress tape. I was a bit nervous going into this build though as the dress was very fitted. My previous costumes had a lot of room for error, but not this one. Additionally, having never worked with lining or boning before, I didn't really know what to expect.
I started with a pattern, not really knowing where else to start.

This McCall's pattern had the basic shape that I wanted for the bottom of the dress, involving both a fitted short skirt, and a much fuller lower skirt. The top though wasn't going to make the cut, so using the general shape as a guide for the pieces I went about drafting my own pattern. Here are the two pieces I ended up with for the front, and I used pieces similar to those in the pattern for the rest of the top.

You can get rolls of tracing paper from various sources, and it's pretty cheap. I would highly recommend it for anybody who will be either drafting their own designs, or modifying store bought patterns. As you can see from this one I made multiple revisions to this one. Expect to do the same if you're doing something completely new.
With my drafted pattern I went about making a prototype from scraps. This is a step that I often skip, because I'm lazy. I'm really glad I didn't this time though because, as you can see from the following photo, I definitely messed up my seam allowances in my pattern, making the half moons like crooked. Again, if you're doing something completely new, take the time to make a prototype before wasting nice fabric.

I'm not going to go into detail of making the dress, as I basically followed the instructions from the pattern. I used an eggplant satin and (near) matching lining. I sewed the bodice and bodice lining, then attached the boning to the inside of the bodice lining, then attached the lining to the outer fabric. I sewed the upper skirt and upper skirt lining, and attached them, then I attached the bodice to the upper skirt (leaving room for the zipper of course.) I attached an invisible zipper, which was a little tricky without a zipper foot for my sewing machine, but not impossible. Once I tried on everything and made a few alterations I slip stitched the linings to the seam allowances. Finally I made the lower skirt, without a lining, and attached it to the upper skirt. I let the dress sit for a few days before trying it on and making the final hem.

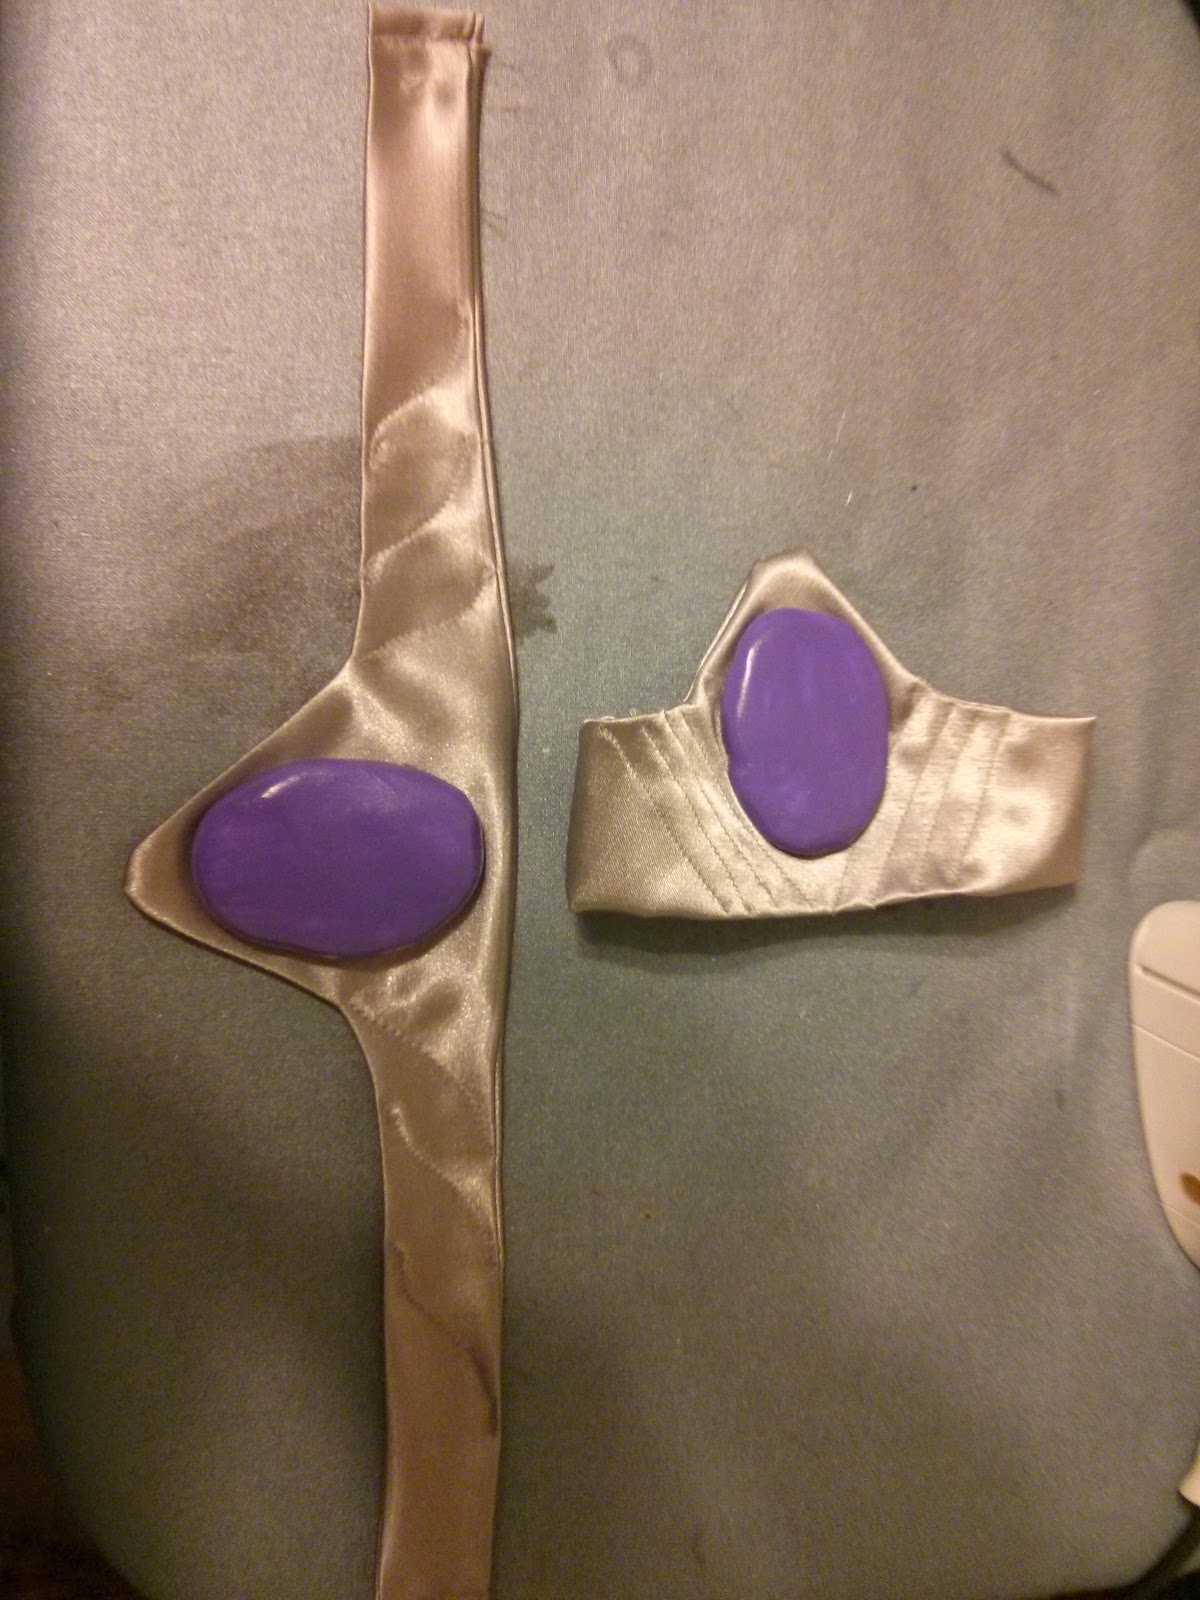
Because I opted not to make the plunge neckline, I decided not to use different fabric for the half-moons, as I was worried about how the dress might pull and wasn't sure if it would deform them. It turned out I probably could have used different fabric. I painted the inner halves of the half-moons with black fabric pain directly onto my dress. Then I made the outer halves (which I'll be honest, I forgot about when making the original pattern) out of some scraps and sewed them into the lining. It looks a little odd in this photo, but actually turned out to look quite nice I think.

Anyway, with the dress finished I started working on the jewelry. Queen Beryl wears a headpiece and earrings with aqua jewels, and a necklace and armband, each of which purple jewels. As I don't really know how to make nice jewels, and I didn't want to spend a lot of money, I opted to make them out of some spare ultra-light sculpey clay that I had laying around from a previous project. I formed the shapes by hand, baked them, sanded them lightly, then painted them and covered them with a clear glaze.

I used floral arrangement wire, which is very flexible, to enclose the aqua gems, and glued the two for the earrings to some basic study. For the headpiece, necklace, and armband I made them out of scraps of fabric. To give the headpiece some added structure I enclosed a piece of plastic stitch grid inside (as per the ears from my Gadget post). I also included a thin headband that would slide under the wig to hold on the headpiece. No, they don't look quite as nice as if I'd made them out of plastics and resins, but I was happy with what I was able to make last minute, as I had taken on this project just a few weeks before DragonCon.

Last project was the staff. This turned out to be much simpler than anticipated. I started with a basic $3 dowel from Home Depot. I drilled 8 small holes into the top of the dowel and inserted small sections of stiff wire (I'm going to say it was 12 gauge? Not sure.) along with some glue to hold them in place. I found a purple bouncey ball for $1 at Dollar Tree, but decided to spray paint it anyway to give it a richer colour, and also cover up the UPC code.


I shaped the wires into the approximate shape that I wanted to hold the ball and trimmed them to the right size. Next I took a sheet or two of paper and rolled it up into long crumpled tubes. I used these tubes to wrap around the top of the dowel to fill out a bit of the basic shape. Next I started applying papier-mâché around the top of the dowel where the paper tubes were, as well as along the base of the wires.

As I applied each layer I smoothed it with my hands and eventually it started taking on the shape I wanted. The very tops of the wires I put only 1-2 layer of papier-mâché and formed them into nice claw-like tips. I painted the whole thing an ivory colour, coated it with some mod podge for good measure, and also a clear glaze. Finally I glued the ball into place, sitting just barely inside the claws. It looks like it's just floating there, and I had people ask me how it was held in place.


So that's it! All together the staff contained about $5-6 worth of materials, the dress about $30-$40, and the jewelry next to nothing, as it was made from scraps and bits I already had around. Here's some final pictures from DragonCon. Pardon the crazy eyes in the first photo...I was a bit nervous at somebody else taking my picture :)


Hello! First of all, the costume you created is lovely! I now am creating my own Queen Beryl costume but I'm having some difficulties with the staff. The wires won't stand up and shaping it seems to be impossible. I tried duck taping it, which keeps it up for the most part but they won't hold the ball. I would be so grateful if you could help me! Thank you! :)
ReplyDeleteThank you, that is so kind of you to say! For the wires, your ability to shape them will depend what gauge you are using. You want something flexible enough to easily shape, but strong enough to hold it's shape while you apply the paper mache. Something like a coat hanger will probably be too strong to get a good shape, unless you are superman, but something like floral wire will probably be too weak and will bend out of shape while wrapping it. I used some wire I bought at home depot, which was about $10 for a huge roll that I'll never ever go through. I don't remember the gauge though, sorry. Once you've got the right wire and shapes, to get it into position for wrapping with paper I drilled a few tiny holes in the top of the staff and stuck the ends in, and then put in a bit of glue. They still moved around a bit, and definitely wouldn't have held the ball at this point. My first few layers of paper mache I focused on wrapping up and around the base of the wires and to the staff to hold them in place. After a few layers they were very firmly in place. I hope that helps!
ReplyDeleteSo after readjusting, we're now attempting to paper mâché the wires but they won't stick to it. We're using starch but it just won't stick. Can I ask how you did that too?
DeleteThe paper mâché indeed might not stick too well to the wires, but that doesn't really mater. The wires are just there to give them shape, and give you something to wrap around. As you wrap the paper strips, just keep it fairly tight, but not so tight that it rips. Do maybe 1-2 layers to start and they just let it dry. Once it should hold its shape, even if it's not completely stuck to the wire.
ReplyDeleteIf you're having a lot of trouble with the paper slipping as you wrap you could try covering the wire with some masking tape first, that might give a better surface. Hope things are coming along well with your costume, let me know if you have any other questions!