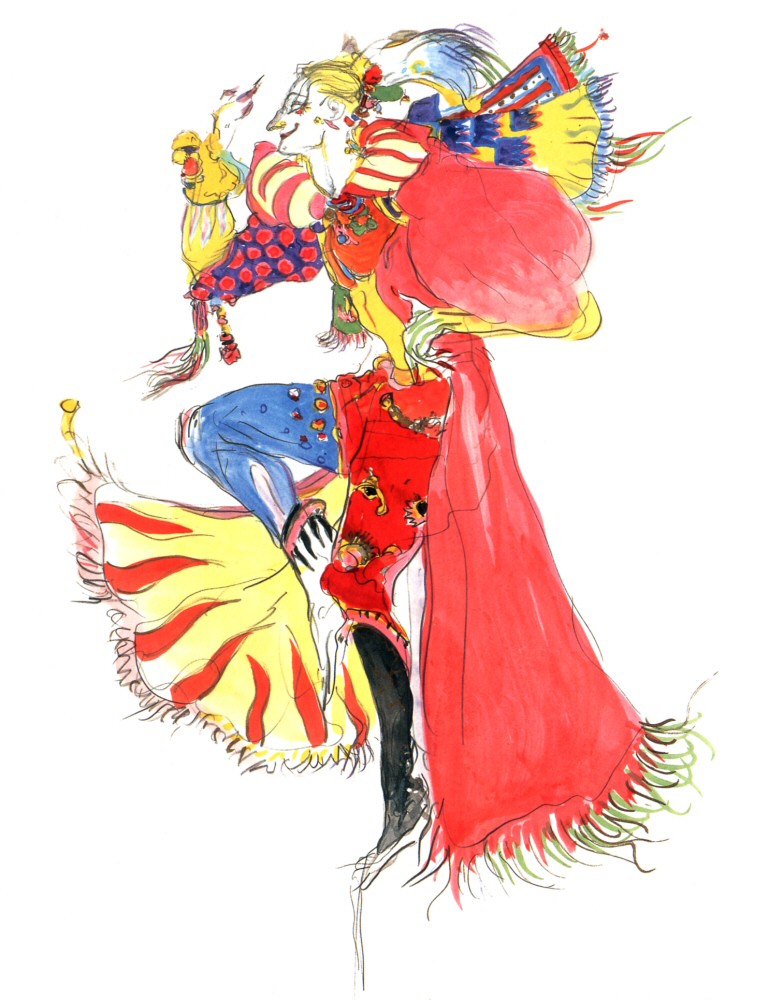
Final Fantasy VI was a 16-bit video game released for the SNES, as such the characters were not as visually well formed in-game as they were in the later Final Fantasy games, and were instead represented as sprites. Fortunately there exist some beautiful concept drawings by Yoshitaka Amano, and I used the most popular of these as the inspiration for my own Kefka costume design, with a few artistic liberties taken.
Kefka is a court mage, with an outfit similar to a jester. The concept artwork reminded me of somebody who had fallen into a collection of silk scarves. I chose synthetic silks for most of my fabrics, other than the main bodice and the pants, because much to my dismay I'm not made of money. For the main bodice and pants I chose a thicker material with a satiny finish, and some black detailing of an east asian style.
Part I - Top
I stuck fairly close to the artwork for my construction of the top, which I interpreted as a fitted yellow bodice (I used a pre-made yellow satiny corset for this, as I did not feel like constructing my own) with a puffed red fabric over the chest, large puffy upper sleeves, and yellow draping lower sleeves.
I made a fairly basic red blouse simply by laying a loose fitting blouse I owned already over my fabric, and then cutting it to a crop top. I gathered the fabric along the bottom of the blouse and added a spandex waist band. I felt this style would hold the blouse in place under the bodice, without too much bunching.
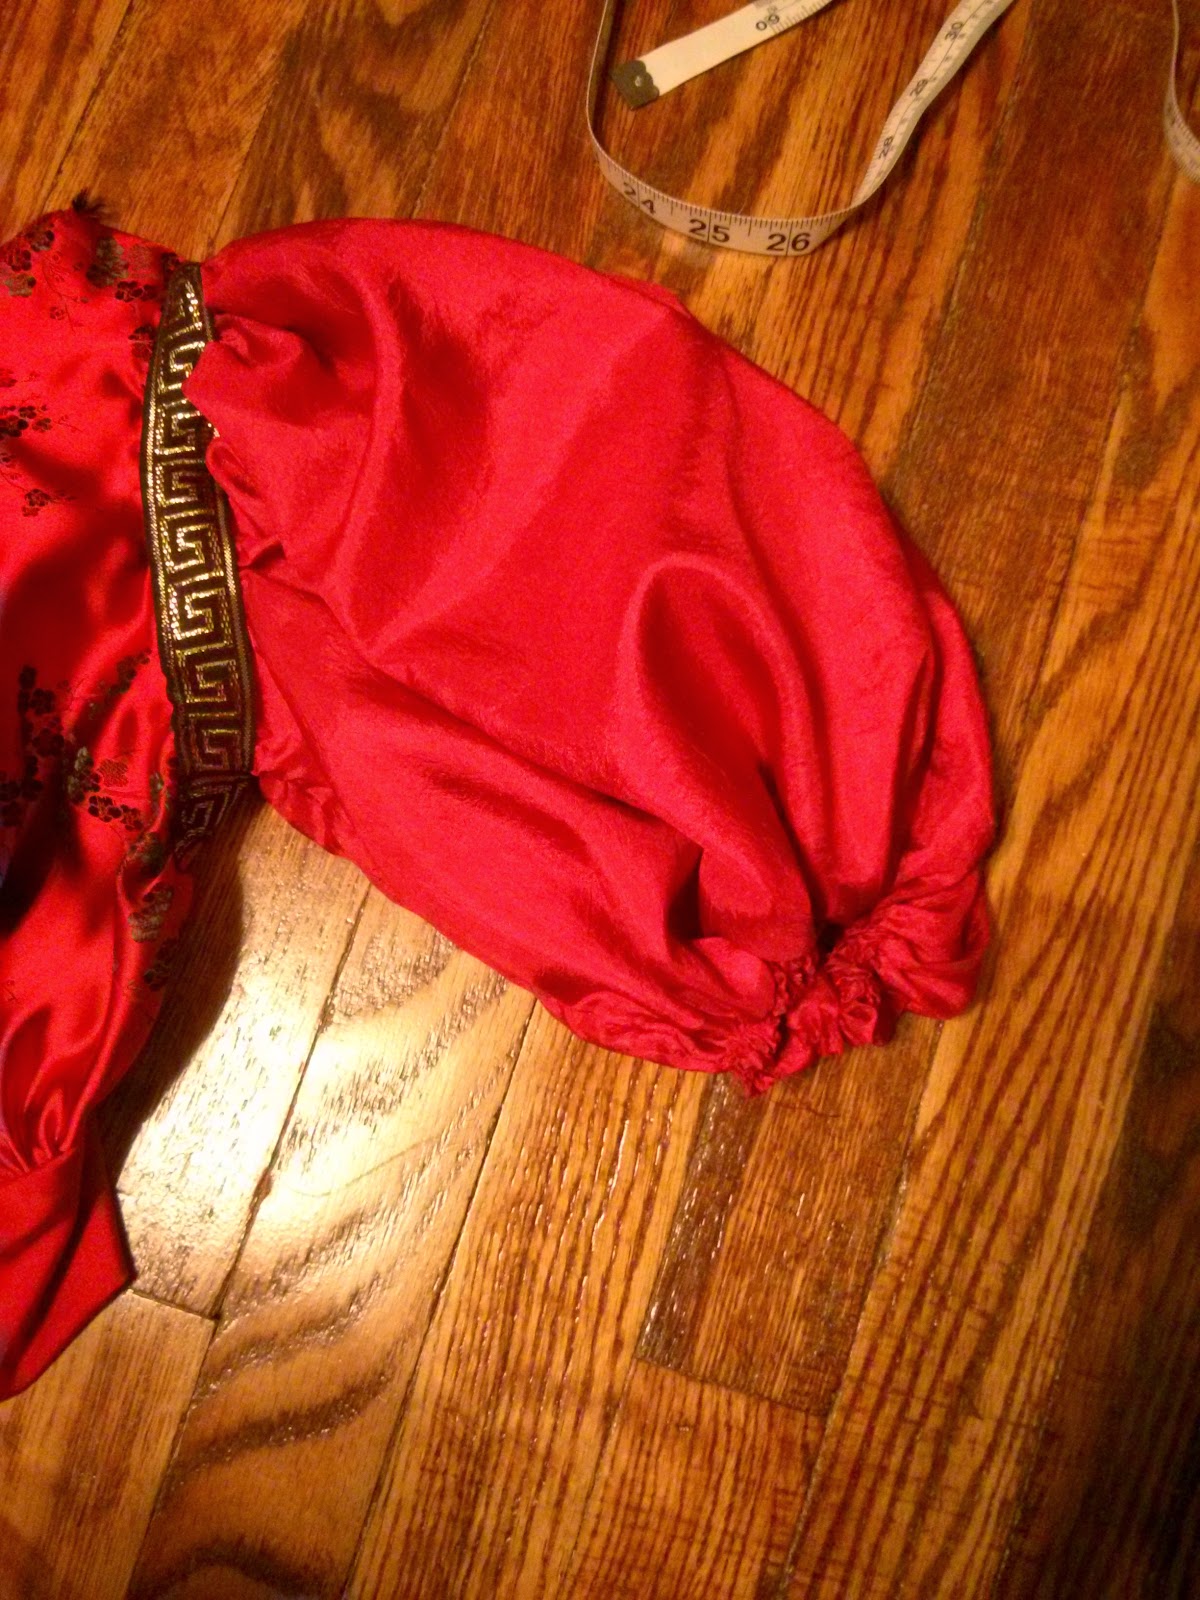
To make the sleeves I again laid out a blouse that I owned onto some tracing paper and traced out the line of the sleeve from the shoulder to the elbow. As I wanted to have large puffy sleeves though I needed lots of extra material on my sleeves in order to gather it at the ends. I cut the pattern into strips and laid it out on my cloth, leaving generous spacing between the strips. I ended up making the sleeve about 2.5-3 times wider than the pattern because the silky fabric turned out to gather very well. I added more width in the middle of the sleeve, which would end up on the top of my shoulder, than at the ends, which would end up under my arms, as I wanted more "poof" on my shoulder. I interpolated between the pattern strips and cut out the sleeve piece. I gathered the fabric along the curved edge of the sleeve, leaving about an inch on either end, so that it would not be gathered under my armpit. I gathered the fabric by running it through my sewing machine on the longest stitch and highest tension, and additionally held the thread spool to increase the tension further. Once the sleeve is gathered it creates a nice big poof.
I sewed the edges together to form the sleeve, and then gathered the bottom of the sleeve as well. I attached it to the shoulder of my blouse and sewed a piece of gold and black trim around the shoulder seam. I sewed a yellow frilly elastic , slightly smaller than the circumference of my elbow, at the end of the sleeve, to hold it up slightly on my arm and enhance the "poof".
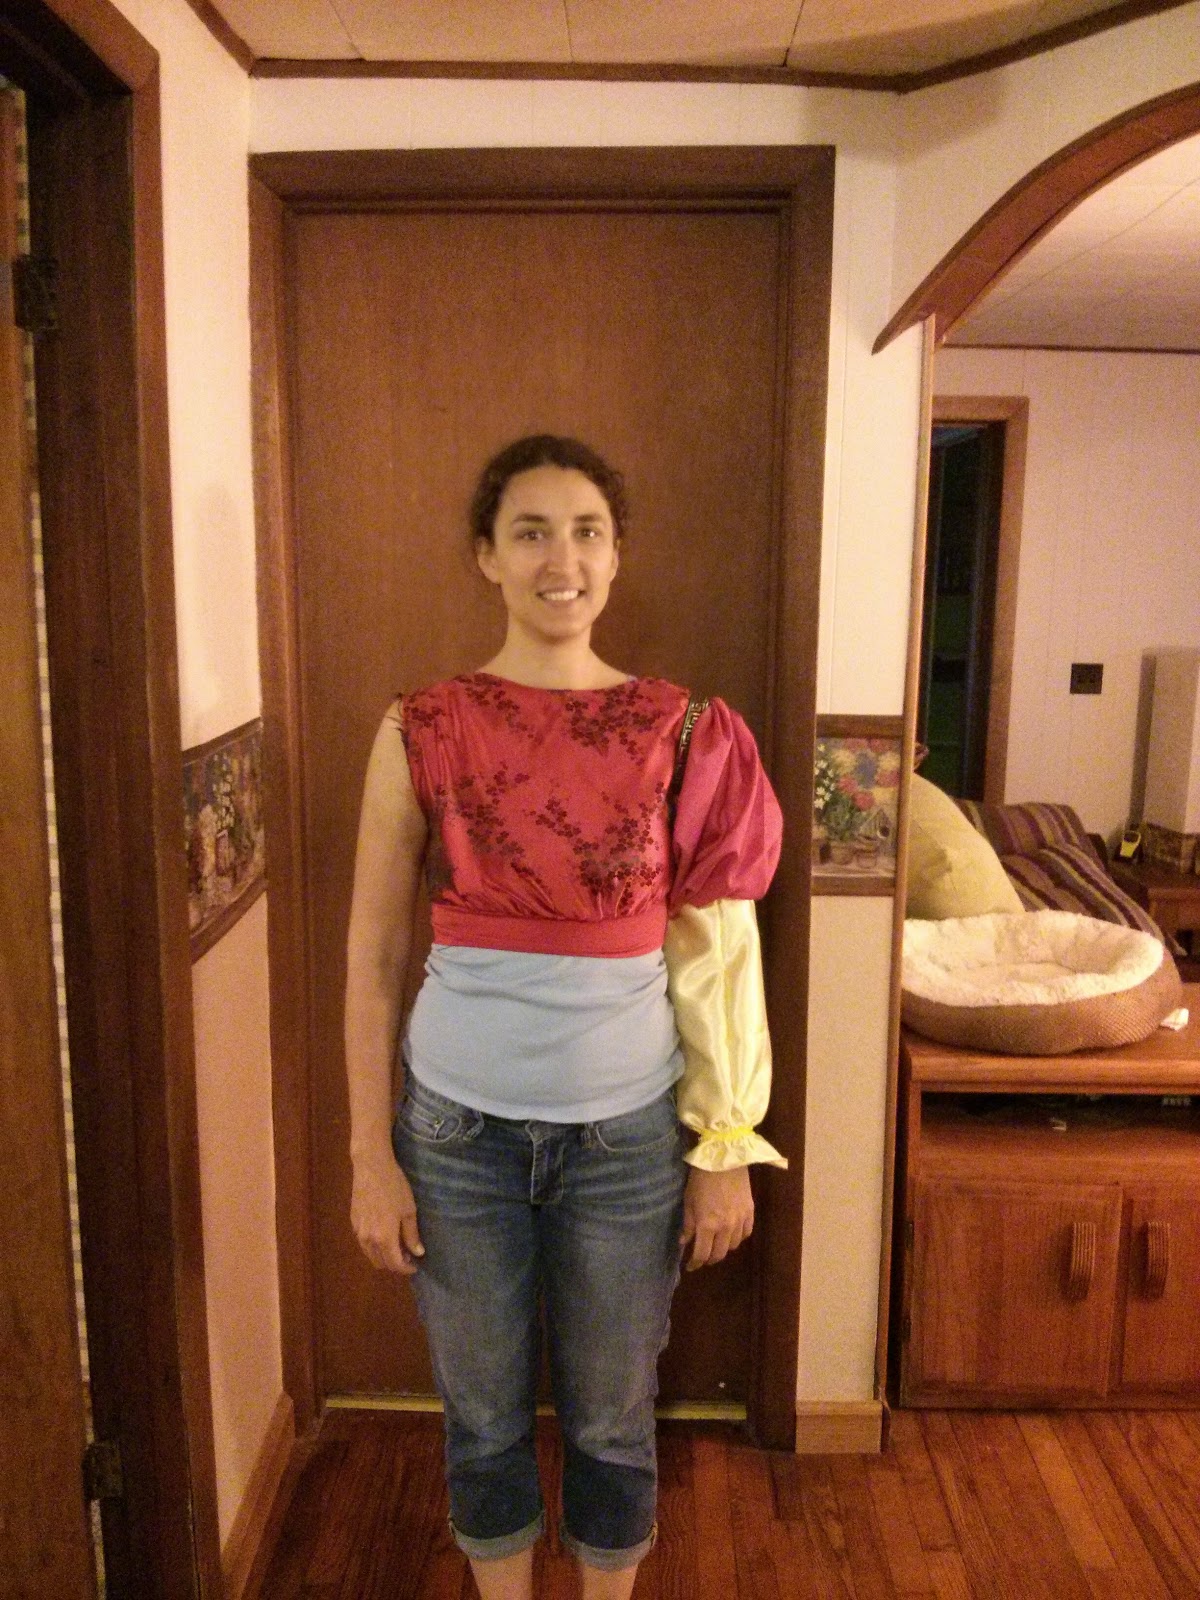
I sewed a basic tube for the lower sleeve that was about 25% larger in circumference than a typical sleeve, at the elbow, providing a small amount of gather, and about 50% larger than a typical sleeve at the wrist. I attached the lower sleeve to the upper sleeve, which I didn't do quite right, and ended up covering up most of the frilly yellow elastic, which I had meant to leave exposed. I gathered the fabric at the wrist, and attached another piece of frilly yellow elastic, leaving about 2" of additional length, and double hemmed the end.
Displaying the finished first sleeve and blouse, I wanted to check and make sure everything puffed well and none of the joints were too tight, restricting movement.
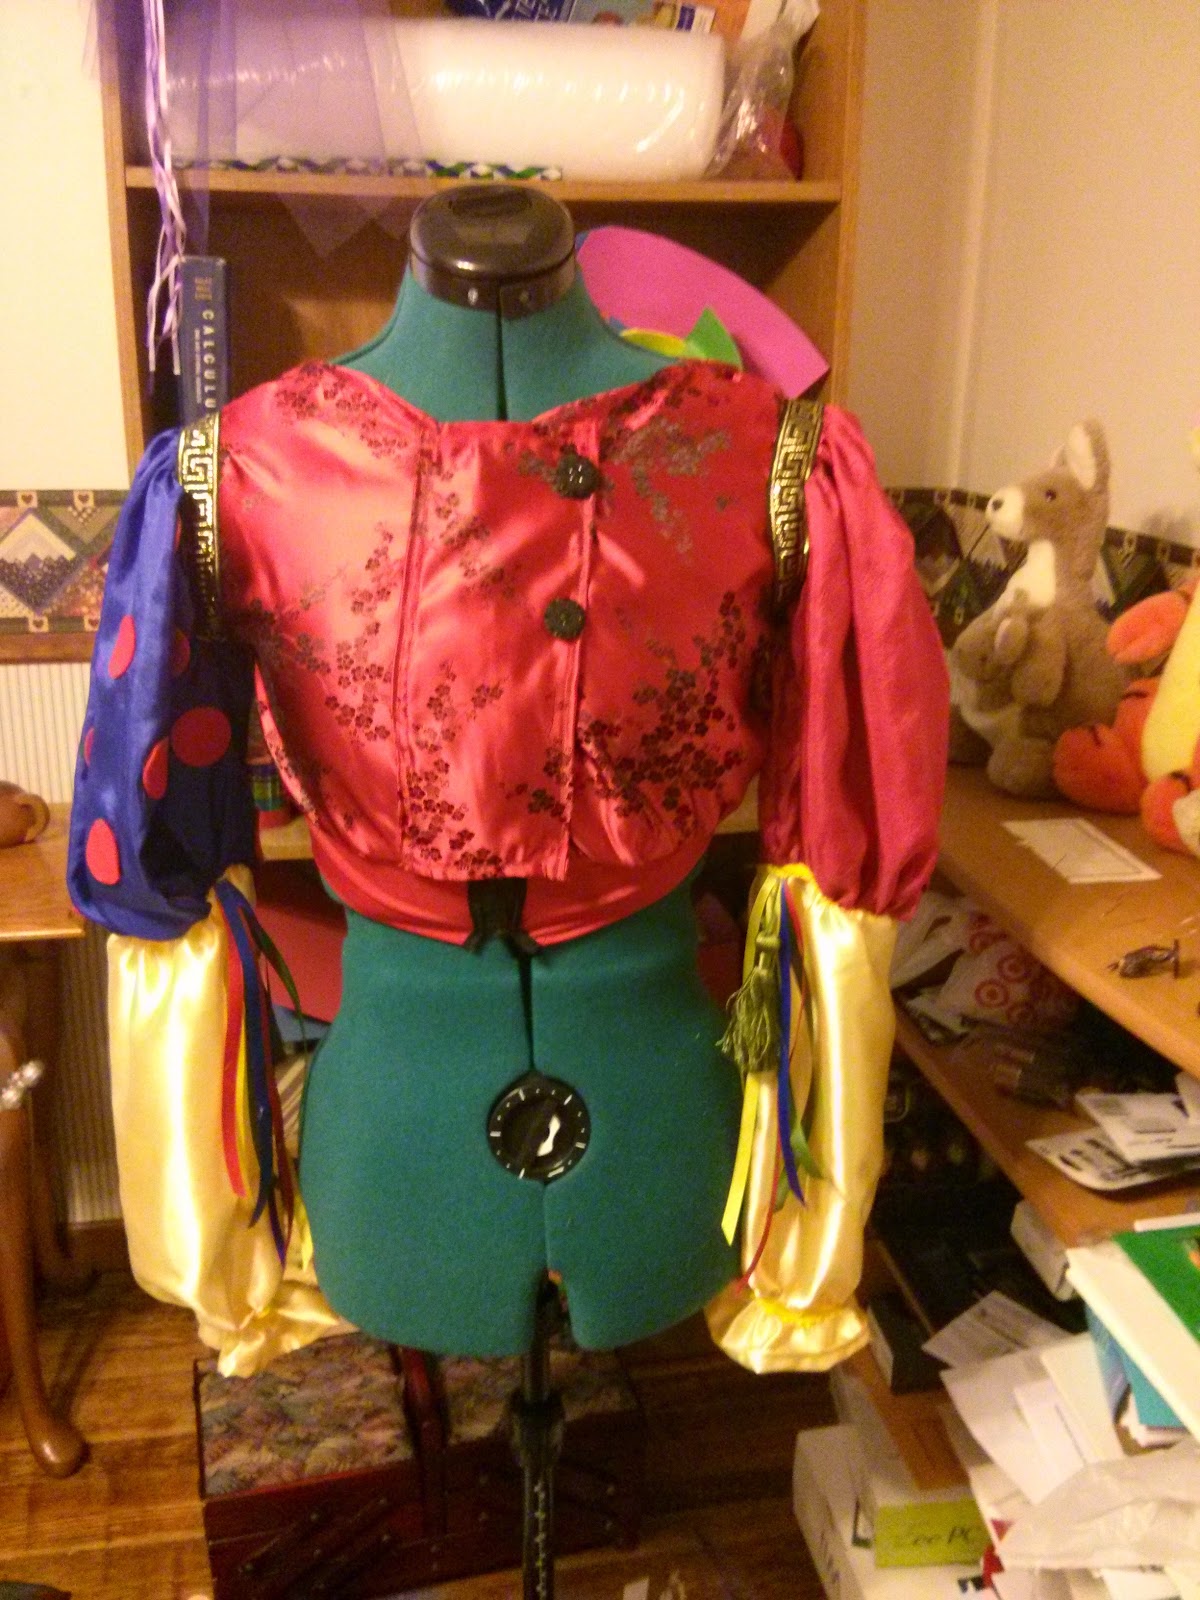
I made the second sleeve in an identical matter, except that I had to make polka-dotted fabric for the upper sleeve first, as I couldn't find anything appropriate at JoAnn's. I used red felt for the polka-dots, as I didn't feel like hemming and sewing on a few dozen circles. The felt didn't need hemming and could be fairly easily glued.
When I put everything together I found that the top was a bit difficult to get on and off. I decided to split the entire thing up the front and add a zipper. Then I added a panel to cover the zipper, and snaps to keep it closed. I added some ribbons and tassels to the elbows, and some buttons along the front to finish it off.
Part 2 - Pants
I made the pants very similarly to how I made my Uber Pants. In fact these pants were the inspiration for the uber pants. I won't go through all the details of construction, as you can see it in the uber pants post. I cut out a basic straight legged pant based on a pair of jogging pants I had already, then gathered the waist and cuffs and added spandex bands. I did a bit of extra fitting around the hips and backside afterwards. I purchased some basic blue legging off eBay and added some detailing with fabric paints and some craft jewels. After trying them on with the pants I decided they were a bit too warm, so I just cut out the leg that was visible and sewed it to the red pants. I added some detailing with white fabric paint and small gems.
Part 3 - Cape and collar
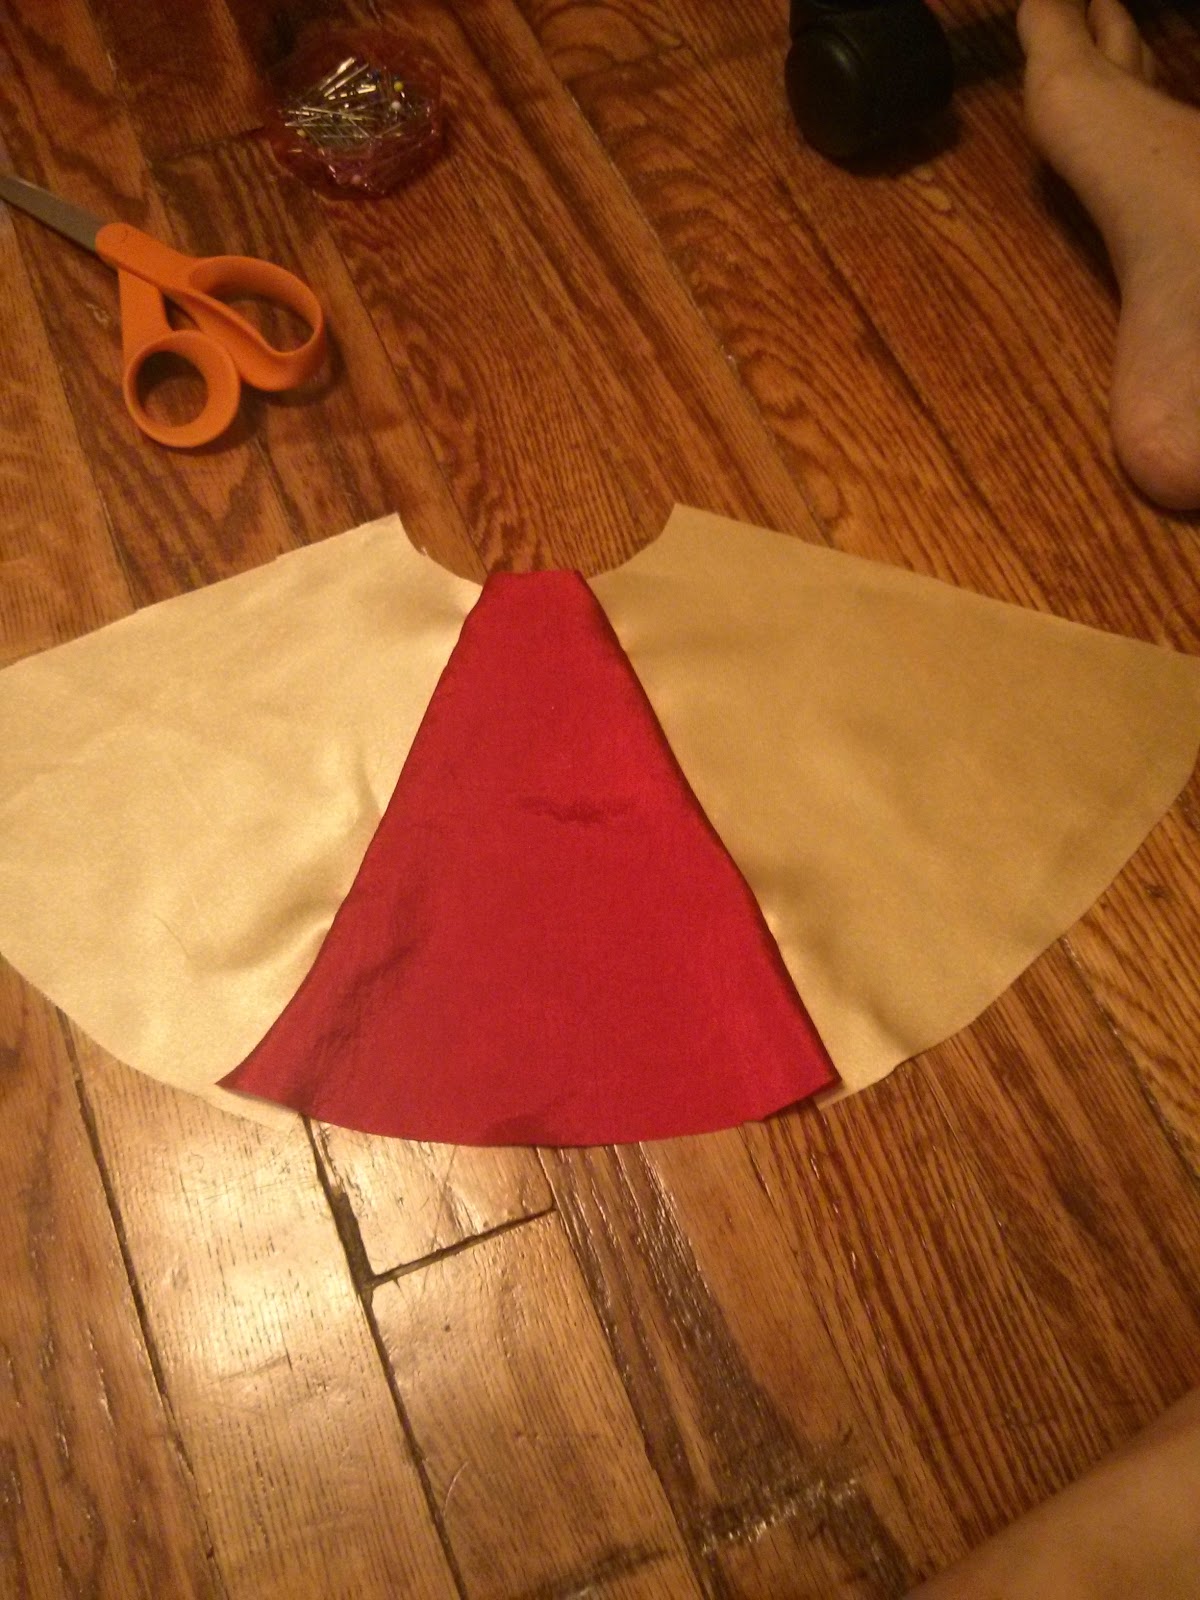
The cape and collar were actually quite simple, and I'm really happy with how they turned out. Kefka's cape appeared to be split in the back, or two separate capes, so this is the approach that I took. I cut two sections of my cape material each about the length of my shoulders to my ankles, and as wide as the bolt. I ended up having to trim my yellow material to a smaller width, as it was wider than the red fabric. I placed the red and yellow fabrics together, with good side in, and attached sewed up the sides. Next I turned them right-side out to add the red triangle "flames" on the bottom of the cape. I had intended to use cut out triangles, and actually went ahead and made about a dozen of these, before deciding that fabric paint would actually look better, and have a more "hand-drawn" look, like in the concept art. Here's the triangles I ditched, and what the painted triangles ended up looking like.
Next I took my fringe and sewed it to the bottom of the cape, on the outside of the yellow side, with the fringe pointing up. I turned the cape inside out and sewed together the bottom edges, then turned it back right-side out, which left the fringe would hand down from inside the hem. As the top of the cape would be underneath the collar, it didn't need to have a nice hem, so I sewed the tops together once the cape was already turned rightside out (normally I would have to slip-stitch this to keep the raw edges on the inside). Then I gathered the tops of each cape section into only about a 6-8" of width.
For the collar I measured the approximate width of my shoulders, added an inch, and then cut a square of the red material with this length on each side. I folded this square in half, then in half again, to make a square 1/4 the size, and then folded it in half across the diagonal to make a triangle. I cut an arc along the bottom of the triangle keeping the same radius along the length of the arc. Then I cut another arc along the top of the triangle, with a radius of 2.5". I unfolded it into a nicely cut circle, and split it to make the collar opening.
The red material forms the bottom of the collar, but the upper part of the collar is multi-coloured, so I had to cut multiple sections of red and yellow fabric and attach them to each other. Time for my favourite part of the costume making process, the math!!
I decided on 8 sections to my upper collar, which would mean each section would have an angle of 45 degrees (360 / 8 = 45!) I calculated what the length of the cord and the arc would be for each section, and drew a to scale section. I then drew on and cut out the upper arc as well, keeping a radius of 2.5" from the tip of the section. I used this to cut out 4 pieces of each colour, leaving an extra 1/2" on each side to attach the pieces together.
I started attaching the pieces together one by one, laying the fabric down on top of the red circle after every new piece to make sure I was on track. When I had completed the full circle I attached a piece of red piped bias tape to the outside, with the piping on the inside (again, like the fringe, this would be so that when the raw edges were sewn together and the collar was turned right-side out, the piping would be on the outside. I also attached this piping to the edges of the collar.
Next I pinned the upper and lower pieces of the collar together with the good sides together. The top piece ended up being a bit smaller than the bottom piece, but I just trimmed up the bottom. As long as the inside edges matched fairly well the outside edges could be re-trimmed. ,I sewed together both the outside circumference and the edges, but not the inside circumference, then turned the collar right-side out.
I filled the collar with stuffing (available at any crafts store) and then sewed up the inside edge by hand. I didn't bother slip stitching this seam either (done to keep the raw edges on the inside) and instead I covered it in bias tape, which I also hand stitched.
I took the two pieces of the cape and attached it to the collar. I had each section of the cape take up about two inner circles worth of width, with a small overlap in the center. I stitched these on by hand, and then went over them with a zig-zag stitch on my sewing machine for extra strength.
I sewed on a strap that would go over my shoulders and under my back, underneath my shirt, to support the weight of the cape, so that it wasn't pulling on my neck. Finally I made some scarves out of scraps of silk, painted them with fabric paint to look like the ones in the source artwork, and attached them to the cape sticking out to the side.
Part 4 - Boots and Wig
I bought a pair of slouchy faux-leather boots from Amazon for $20. I got them in white, and then painted one boot black using fabric paint, thus saving me from having to buy two pairs of boots. I painted the black triangles onto the white boot, and added an upper red edge with bias tape.
The wig I also got on Amazon, for $10. I order a light blonde wig, but they sent me the regular blonde one instead, so it wasn't quite the right colour, but it took about 3 weeks to get here from China and I didn't have time to order a new one. I trimmed the wig, tied it into a ponytail, styled the bangs back, and added some feathers and tassels onto it (pro-tip, don't glue things onto a wig while wearing it if you don't want to be picking glue out of your hair for the next week...)
Final Results
Ta-Da! I was pretty happy with how this turned out. I may upload a few more photos, as there's details you can't quite see from this one picture. I used Mehron clown white grease face paint, and then some cheap red halloween face paint for the eyes. I also threw in some white lace gloves, as I didn't want to paint my hands. Here's a picture of me fighting Sephiroth for good measure.










No comments:
Post a Comment